Open OnDemand
The Open OnDemand is an interface that facilitates the use of our HPC environment consisting of the Apollo Cluster. To access it, you need a valid LIneA account (learn more).
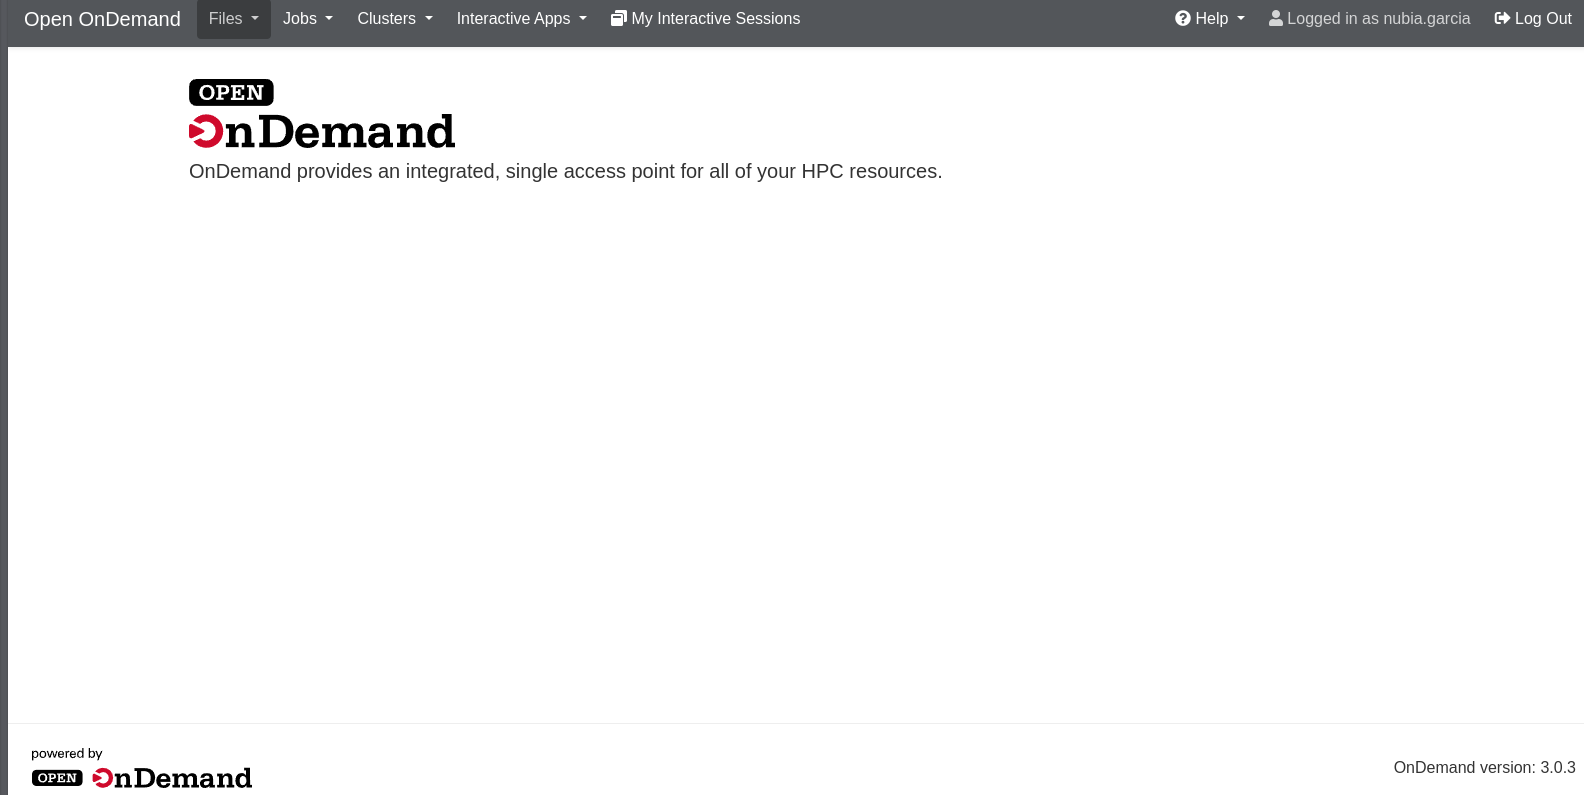
Access to the Open OnDemand is through https://ondemand.linea.org.br/.
On the home screen of the platform, at the top, you can see a menu with the following items:
- Files - provides an interface to your user directory (Home Directory).
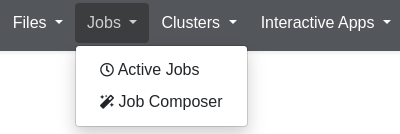
- Jobs - provides interfaces for "Active Jobs" and "Job Composer".
- Clusters - provides web browser terminal access.
- Interactive Apps - provides access to Jupyter Notebook.
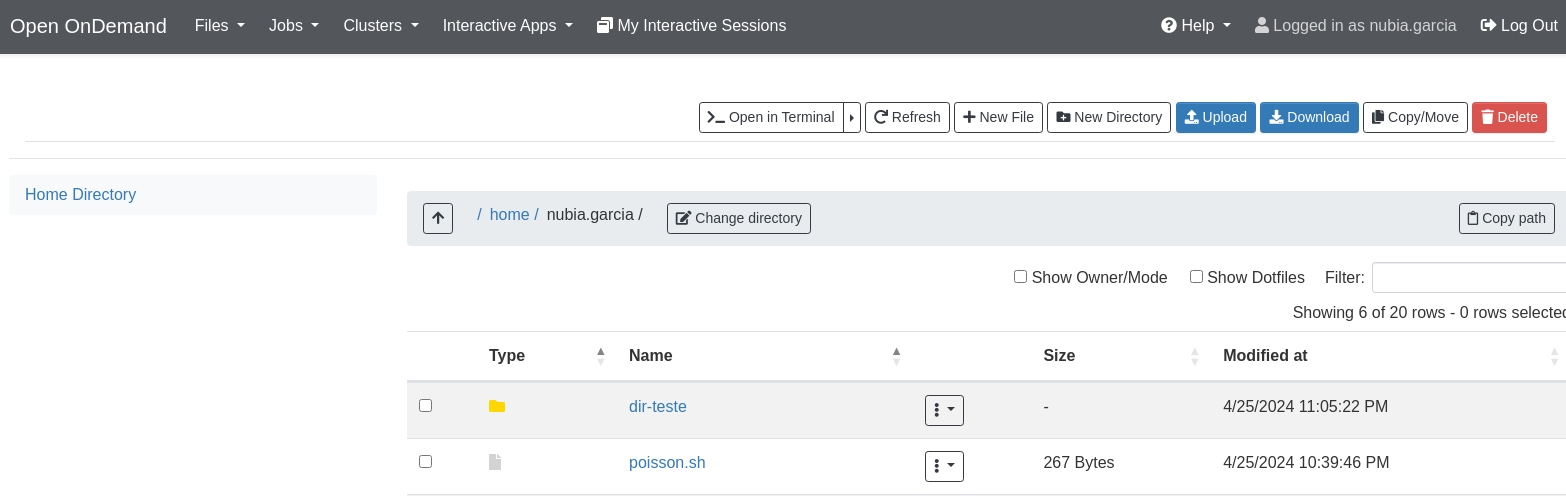
Home Directory
The Home Directory allows you to view your user directory where your files are stored, along with various buttons offering different functionalities.
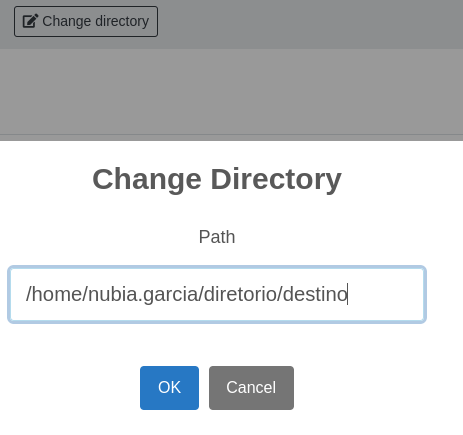
Changing Directory
Clicking the Change Directory button lets you navigate through our infrastructure. Simply enter the path in the Path field and click "ok".
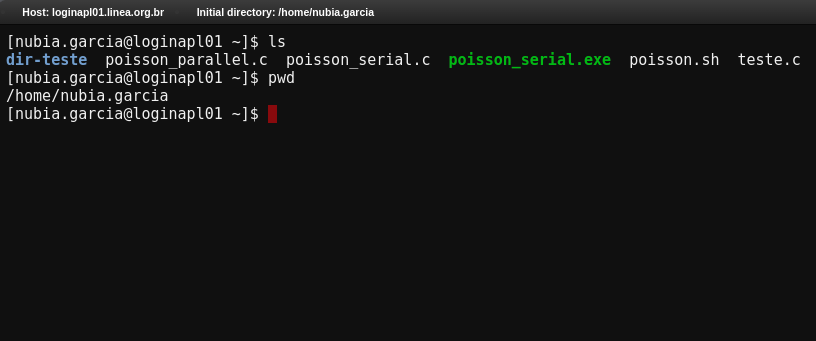
Accessing Terminal
Clicking the Open Terminal button takes you to a Linux terminal on the login machine (loginapl01) of the Apollo Cluster. In this terminal, you're in your user "Home" directory and can view your files. You can also perform all standard HPC user operations, such as allocating compute nodes and checking the Slurm queue using commands.
Creating, Transferring and Moving Files
In the Open OnDemand, creating new files and directories is simple, as is transferring them.
- Click the "New File" or "New Directory" buttons and choose names for your new files/directories.
- The "Upload" button lets you transfer files from your local machine to your home directory in our environment.
- The "Download" button lets you send selected files to your local machine.
To view, rename or edit created files, click the "three dots" next to the file to see a menu with these options.
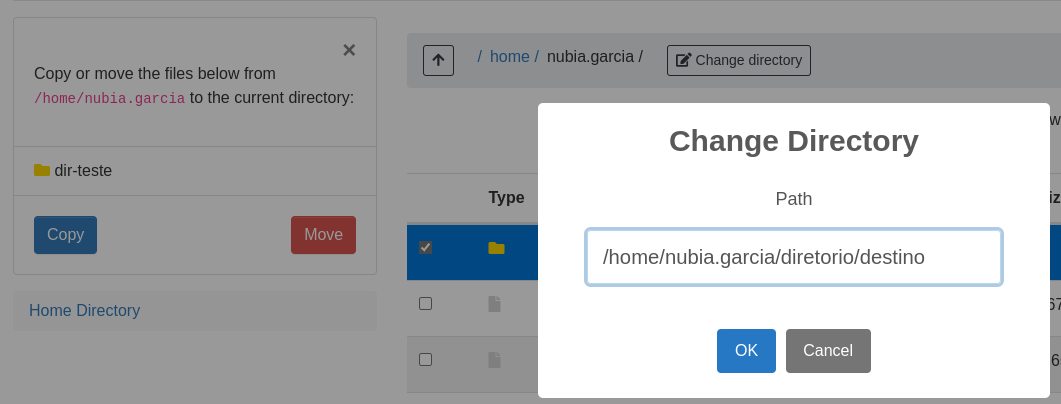
To move or copy files:
- Select the desired file
- Click "Copy/Move"
- Click "Change Directory" and enter the destination path
- Click "Copy" or "Move" in the box that appears on the left side of the screen.
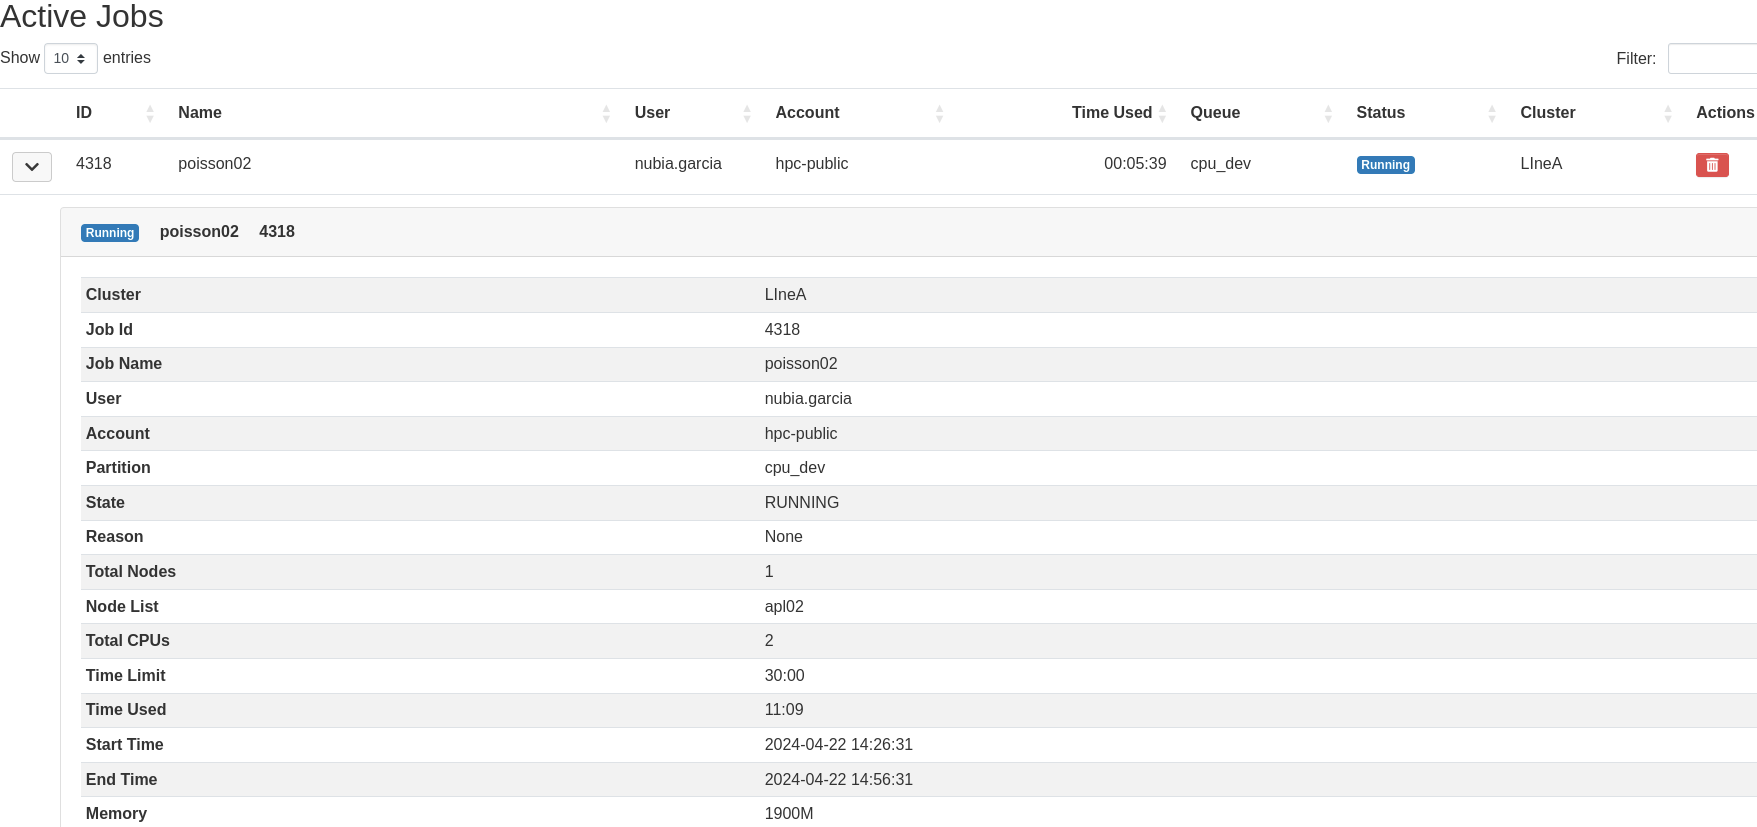
Jobs
In the Jobs section of the main menu, you'll find "Job Composer" and "Active Jobs". The "Job Composer" screen simplifies job submission, while "Active Jobs" lets you monitor your job execution in detail.
To submit a job, you need a submission script like this: (learn more)
#!/bin/bash
#SBATCH -p PARTITION                       #Name of the Partition to use
#SBATCH --nodelist=NODE                    #Name of the Node to be allocated
#SBATCH -J simple-job                      #Job name
#----------------------------------------------------------------------------#

##path to executable code
EXEC=/scripts/YOUR.USER/EXECUTABLE.CODE

srun $EXEC
To view more job submission script templates, click here
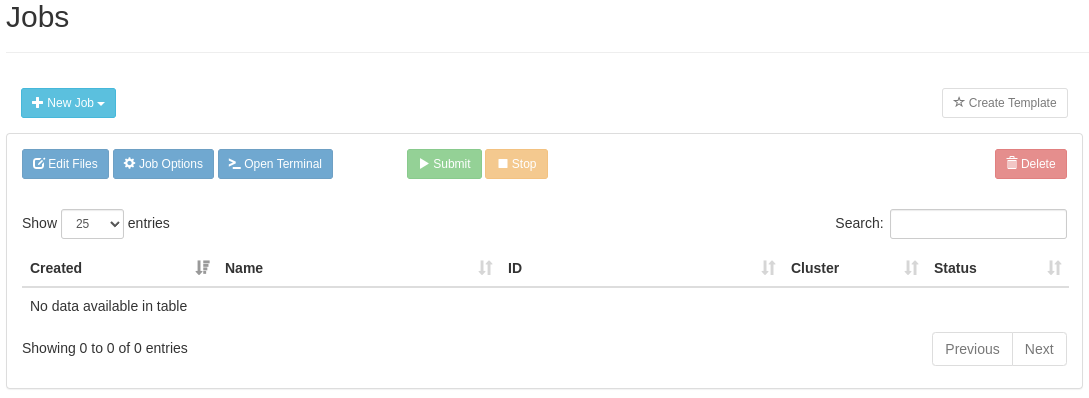
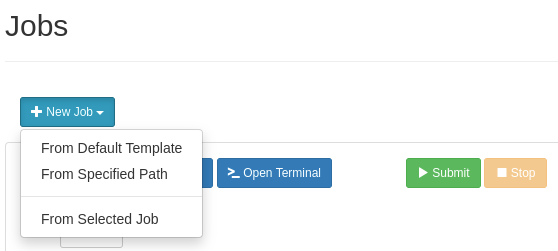
Job Composer
The Open OnDemand simplifies the entire job submission process through the Job Composer tool. Just follow these steps:
- Click the "New Job" button
- Choose "Default Template"
- Edit submission script specifications in "Open Editor"
- Click "Submit" to start job execution.
Important Notice
The cluster's compute nodes don't have access to your user directory (Home Directory). Move or copy all files needed for job submission to your SCRATCH directory.
JupyterLab
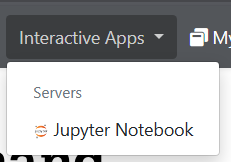
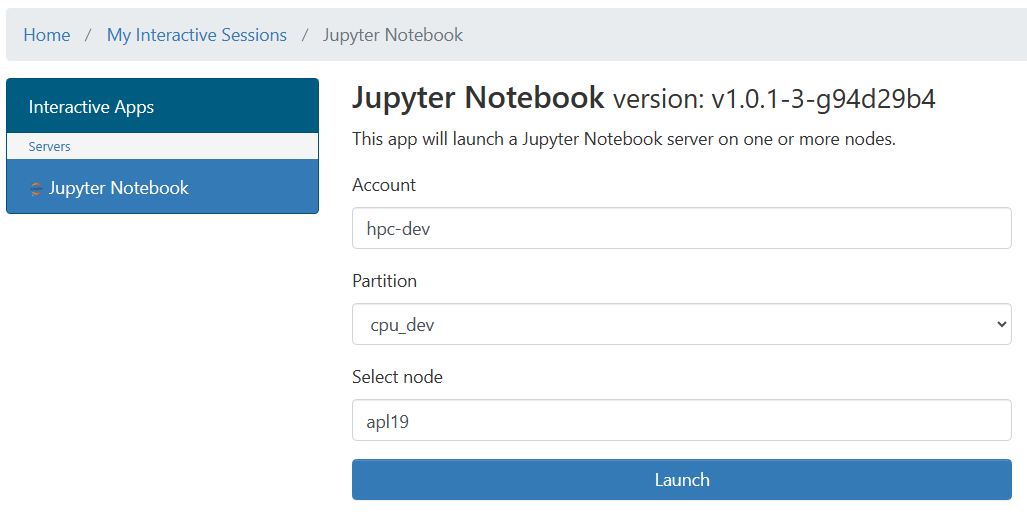
With the Open OnDemand, you can access the Jupyter Notebook in our HPC environment. Through "Interactive Apps", Jupyter Notebook will start a session on one of the cluster's compute nodes by:
- Clicking "Jupyter Notebook"
- Filling in the "Account", "Partition" and "Select node" fields
- Pressing the "Launch" button
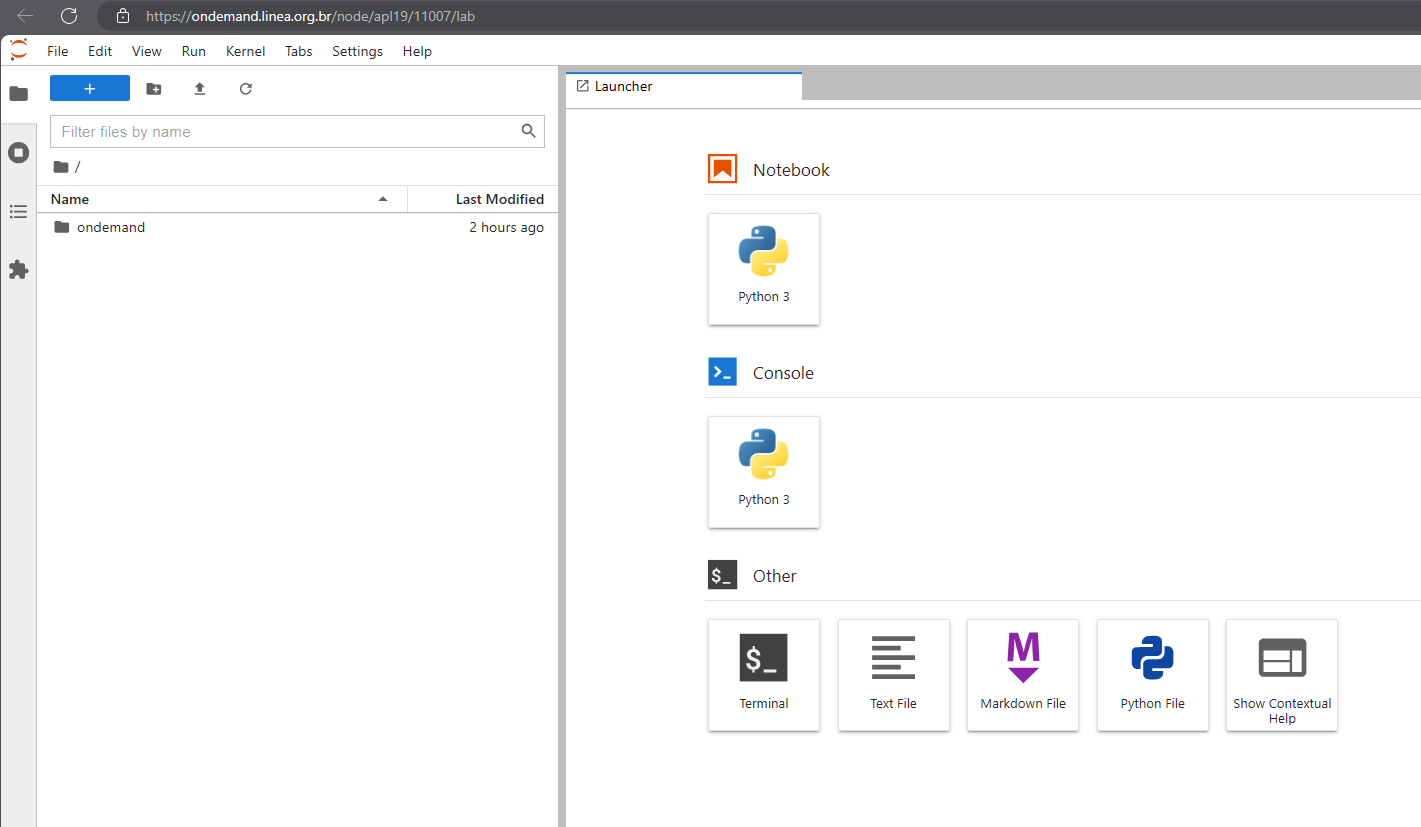
- Connecting to JupyterLab by clicking "Connect to Jupyter".
Jupyter on Kubernetes VS Jupyter on HPC
We have two Jupyter environments on different infrastructures. One is available at https://jupyter.linea.org.br running on Kubernetes. The other, mentioned above, runs interactively through Open OnDemand directly on compute nodes.
When opening a terminal within JupyterLab via Open OnDemand, you'll see you're on an Apollo Cluster node with access to your "scratch" area on Lustre storage.
Creating Python Kernels
The following commands must be executed in the terminal in "LIneA Shell Access".
To access:
- On the Open OnDemand home page, click: Clusters -> LIneA Shell Access.
Follow these commands:
-
Go to your SCRIPTS area, create, activate a conda venv and install ipykernel:
cd $SCRIPTS conda create -p $SCRIPTS/kernelname conda activate kernelname/ conda install -c anaconda ipykernel -
Configure JUPYTER_PATH (must be this exact path):
JUPYTER_PATH=$SCRATCH/.local echo $JUPYTER_PATH python -m ipykernel install --prefix=$JUPYTER_PATH --name 'kernelname' -
Open a Jupyter Notebook session.
The last command's output should be:
#[InstallIPythonKernelSpecApp] WARNING | Installing to /scratch/users/YOUR.USER/.local/share/jupyter/kernels, which is not in ['/scratch/users/YOUR.USER/kernelname/share/jupyter/kernels', '/home/YOUR.USER/.local/share/jupyter/kernels', '/usr/local/share/jupyter/kernels', '/usr/share/jupyter/kernels', '/home/YOUR.USER/.ipython/kernels']. The kernelspec may not be found.
Installed kernelspec kernelname in /scratch/users/YOUR.USER/.local/share/jupyter/kernels/kernelname
After executing these commands, you'll see the created Python kernel button.
Tutorial videos
For any questions, contact the Service Desk.